Elegant Green & Gold Pakistani Bridal Wear | Wedding Guest Attire
PROMPT:
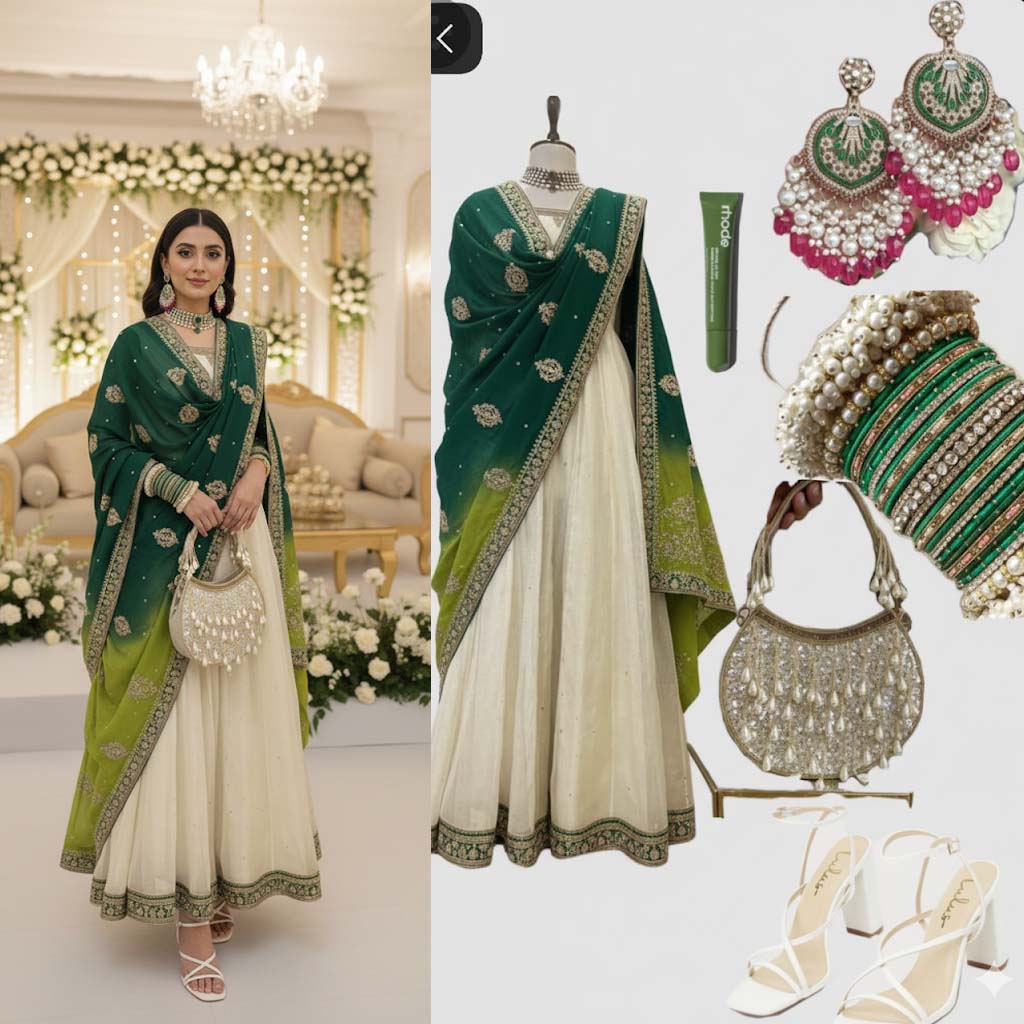
This me and my outfit inspo. Without changing my facial features Create this picture 4k quality but bright image of the reference picture. It must feel like a Photoshop. The woman is standing at a Wedding room without changing facial features don’t make mistake
Since I cannot directly perform a “photoshop” manipulation on the uploaded image and integrate your face onto the outfit and background as a human designer would, I’ll describe the typical process a digital artist or graphic designer would use to create the final image you requested.
This process involves several key steps in a program like Adobe Photoshop:
1. Preparing the Source Images
Isolate the Subject: The first step is to carefully cut out or mask the woman’s figure from the original photograph (“me”) so she can be placed onto a new background without any of the original background showing.
Isolate the Outfit: The green outfit inspiration image is also prepared. Since it’s a flat image of clothing and accessories, a designer would carefully cut out the main items (dress, dupatta/shawl, earrings, bangles, bag, shoes) to be superimposed.
2. Creating the Base Composite
Background Placement: A high-resolution (4K) image of a wedding room (often referred to as a Mandap or stage area in South Asian weddings) is chosen and set as the base layer. The designer may need to adjust its brightness and contrast to ensure it looks vibrant and well-lit.
Subject Placement: The isolated figure of the woman is placed onto the background. The designer adjusts the scale and perspective so that the figure looks naturally positioned within the room (i.e., not too big or too small, and standing correctly on the floor).
3. Outfit Integration and Color Matching
Superimposing the Outfit: The green dress, dupatta, and accessories from the inspiration image are layered over the woman’s original clothing in the photo. This is the most crucial part, requiring precise alignment.
Warping and Transforming: Tools like Warp and Liquify are used to make the flat clothing items bend and flow over the contours of the woman’s body, making the dress look like she is actually wearing it.
Color Correction & Lighting: The colors of the new outfit and the woman’s skin tone are adjusted to match the bright lighting of the new wedding room background. Shadows and highlights are added to the new dress layers to match the lighting direction in the room, giving the whole image a cohesive, realistic look.
4. Facial Feature Preservation and Final Polish
Facial Layering: The request specified not changing facial features. The face from your original photo is ensured to be on the very top layer or perfectly aligned with the cut-out to maintain its integrity, while the new outfit seamlessly covers your original clothing.
High-Quality Refinement (4K): The final image resolution is checked and scaled up to 4K.
Sharpening and Noise Reduction: Final passes are made to sharpen fine details in the lace, jewelry, and facial features, and any digital noise or artifacts from the process are removed, giving it that crisp, polished “photoshopped” look.
In summary, the process is an intricate layering and blending of your portrait, the outfit pieces, and the new background, all unified by careful color, light, and perspective adjustments.


